This tutorial assumes that you have knowledge of psp, working with layers, tubes, and understand which tools are which.
Before we begin, you will need to download the supplies by clicking here: Supplies
Save the selections files,the .sel files, to your selections folder. Save the presets,the.pbv, to the preset folder in your psp directory, open the ladybug.jpg in psp.
1. Open a new image 450x400- transparent.
2. Choose selections-load from disk-shoeoutline.
3. Flood fill this black and then press ctrl+d to deselect.
4. Add a new layer, and name it shoe front.
5. Choose selections-load from disk-shoefront.
6. Flood fill this selection with the ladybug pattern. Do this by choosing pattern on your color palette, and selecting the ladybug pattern.
7. Choose inner bevel and apply the shoe front inner bevel.
8. Press ctrl+d to deselect.
9. Add a new layer and name this layer shoe top.
10. Choose selections-load from disk-shoetop.
11. Flood fill this selection with the ladybug pattern.
12. Choose inner bevel and select the shoetop preset.
13. on your layer palette, pull this layer beneath shoe front. Press ctrl+d to deselect.
14. Add a new layer. Name this layer shoe v.
15. Flood fill this selection with the lady bug pattern.
16. Choose inner bevel and use the shoe front preset.
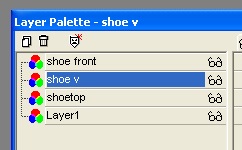
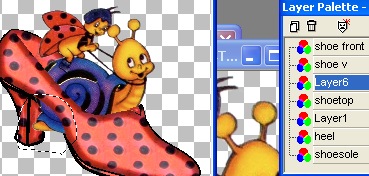
17. This layer should be beneath the shoe front layer. So your layer palette should look like this:
18. Press ctrl+d to deselect.
19. Add a new layer and name this layer sole.
20. Choose selections-load from disk-shoesole.
21. Flood fill with the lady bug pattern.
22. Choose inner bevel and apply the shoe front preset.
23. Pull this layer to the bottom of your layer palette so that it is the very bottom layer.
24. Add a new layer and name this layer heel.
25. Choose selections-load from disk-shoeheel.
26. Flood fill with the lady bug pattern.
27. Choose inner bevel and apply the shoe top preset.
Press ctrl+d to deselect.
At this point you can merge all visible layers and have a nice shoe. However, you can also “fill” the shoe here as well. To fill the shoe do this.
1. Choose the tube you are going to use to fill the shoe.
2. Add a new layer under shoev and above shoetop.
3. Place your tube on the layer.
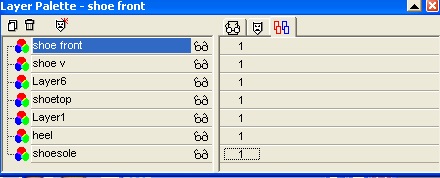
4. Now, I need to move my shoe down some so here is what I am going to do. On my layer palette, I have a tab called layer groups. It looks like this:
![]()
5. Click on that tab, and then click on each layer on the right hand side of your layer palette to make each layer part of group 1.
6. Now you should be able to take your mover tool, and move your shoe to the bottom of your canvas to make room for the tube.
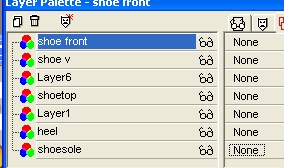
7. Now right click on each 1, so that the 1 turns to none.
8. Now if your tube hangs over the shoe front, take your lasso tool and select the area that needs to be removed.
9. Make sure you are on your tube layer and then hit delete. Press ctrl+d to deselect.
10. Merge all visible layers.
That's it! You can save as a tube, add text, do whatever you like with it now!