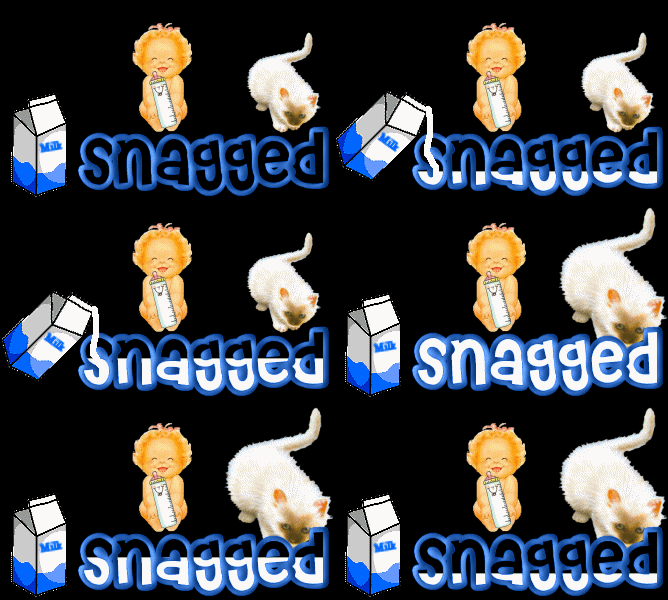
Ok, this tut assumes that you have a working
knowledge of psp, the use of tubes, and the use of
layers.
1. Open a new image, 400x400
transparent.
2. You will need to use a font that will
leave the "fill" open, or select null on the fill
stroke.
3. Put your text on the new image, size 48,
antialias checked, and floating.
4. Effects-3d effects-inner
bevel:
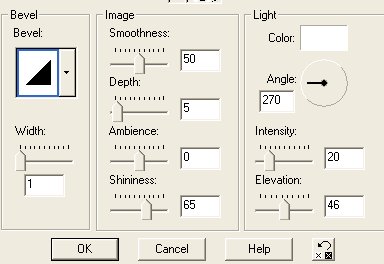
CTRL+D to deselect.
5. Add a new layer, and put your "drink"
tube on it. Add any decoration tubes that you are going to add. I added a
baby and a bottle to mine.
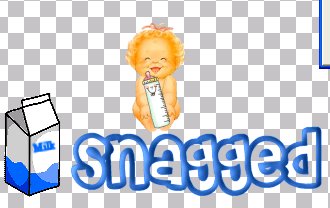
6. Right click on your layer palette, and
merge visible layers.
7. Right click on your layer palette and
duplicate this layer, name it starter. Move this layer to the bottom of
your layer palette and turn visibility off.

8. Highlight your merged layer, add a new layer
and add your "drinker" to this layer. I am using a cat. I am going
to make him a little smaller so that he will look like he has moved up to
drink.
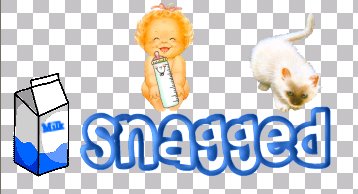
9. Merge visible layers.
10. Duplicate this layer and name it
fill1.
11. Turn visibility off of merged layer
and highlight fill1.
12. Using your selection tool, draw a
rectangle around your drink, in my case this would be the milk. Now click
on the drink. You should have the drink as a floating selection
now.
13. Go to image-rotate. Rotate
right-free, 45, and make sure all layers is
unchecked.
14. Choose effects-sharpen. Right
click to deselect. You should now have an image that looks like
this:
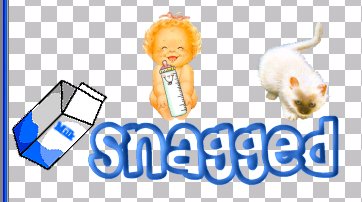
15. using your paint brush
and the color of your beverage, draw a line from your drink to the bottom of
your first letter so that it looks like it is
pouring.
16. On Fill 1 layer, take your magic wand
and the shift key to select inside of each layer. Then go to
selections-modify-expand 1.
17. Add a new layer and flood fill with
your beverage color. Pull this layer below fill
1.
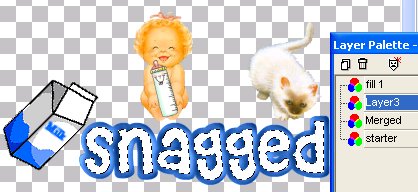
17. Duplicate this layer 2
times.
18. Duplicate fill 1
two times.
19. Turn visibility off of all except
layer 3 and fill 1. On layer 3, take your selection tool and draw a
rectangle over the top two-thirds of your letters. Hit
delete.
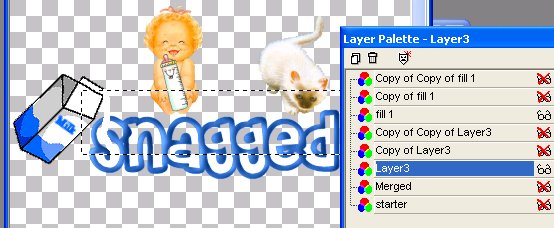
20. Right click on fill 1 and merge
visible.
21. Turn off visibilty for that layer.
Turn on Copy of Layer 3 and Copy of fill 1. Do the same thing only this
time only come down one third of the way before you hit
delete.
22. Right click on copy of fill 1 and
merge visible. Turn off visibility for that
layer.
23. Turn on visibility for copy of copy
of fill1 and for copy of copy of layer 3. Right click on copy of copy of
fill1 and merge visible.
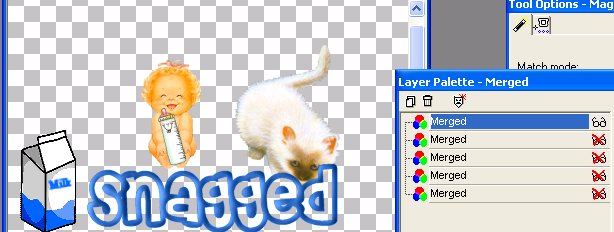
Your layer palette should look like
this:
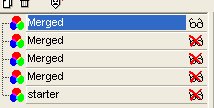
24. Now drag your starter layer to the
top of your palette. Add a new layer.
25. This is where you will put the final
drinker, whether it be a straw or whatever. I am using a slightly larger
version of the same cat. Merge Visible
layers.
26. Using your magic wand and your shift
key, click inside each of your letters. Goto
selections-modify-expand-1.
27. Add a new layer, and floodfill with
your beverage color. Pull this layer under your top merged
layer.
28. Duplicate this layer 2
times.
29. Click on the top merged layer and
duplicate it 2 times.
30. Turn off visisblitily of all layers
except copy of copy oflayer 5 and merged. On layer 5 draw a rectangle with
your selection tool about two-thirds down on your letters. Hit your delete
key.

31. Right click and merge visible
layers. Turn off visiblity. Turn on visiblity of copy of merged and
copy of layer 5.
32. Draw a rectangle with the selection
tool over the letters about one third of the way down. Make sure copy of
layer 5 is highlighted and hit your delete
key.
33. Right click and merge visible
layers. Turn off visiblity.
34. Turn on copy of copy of merged and
layer 5. Right click on layer 5 and merge visible
layers.
35. Turn on all layers. Use your
crop tool to crop the excess out of your picture and save as a psp
file. If you have used milk, or another white drink, you will need to add a background color. Due this by adding a layer at the bottom of your image and flood fill with a contrasting color.
36. Open Animation shop. Go to
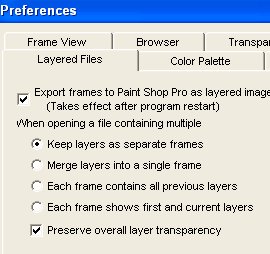
file-preferences-general program preferences-layered files. Make sure keep
layers as seperate frames is checked, if you are not using a white color. Make sure each frame shows first and current frames is checked if you are using a background color.
37. Open your psp file. Maximize
it. If you are using a background color, right click on the first frame and delete it. Then, either way..Choose edit select all. Right click on a frame and choose frame
properties. Set this at 30.
38. View your animation and then save
your gif. Walla! You did it!
